This was our extra bedroom where we housed all junk and crafts and music that just didn't go anywhere else. That wasn't really working for me...
So I moved the craft stuff and the long dresser buffet into our massive bedroom along with our old dining table. I thought this would solve all of our problems, but it didn't. I was really wanting a floor to ceiling built-in shelf that would hold all of my stuff and look organized.
As you can see in the picture below, there is a remnant of a wall decal that says, "Love." I wanted to use it still, but not in this way. You will see it later in the post in a different location.
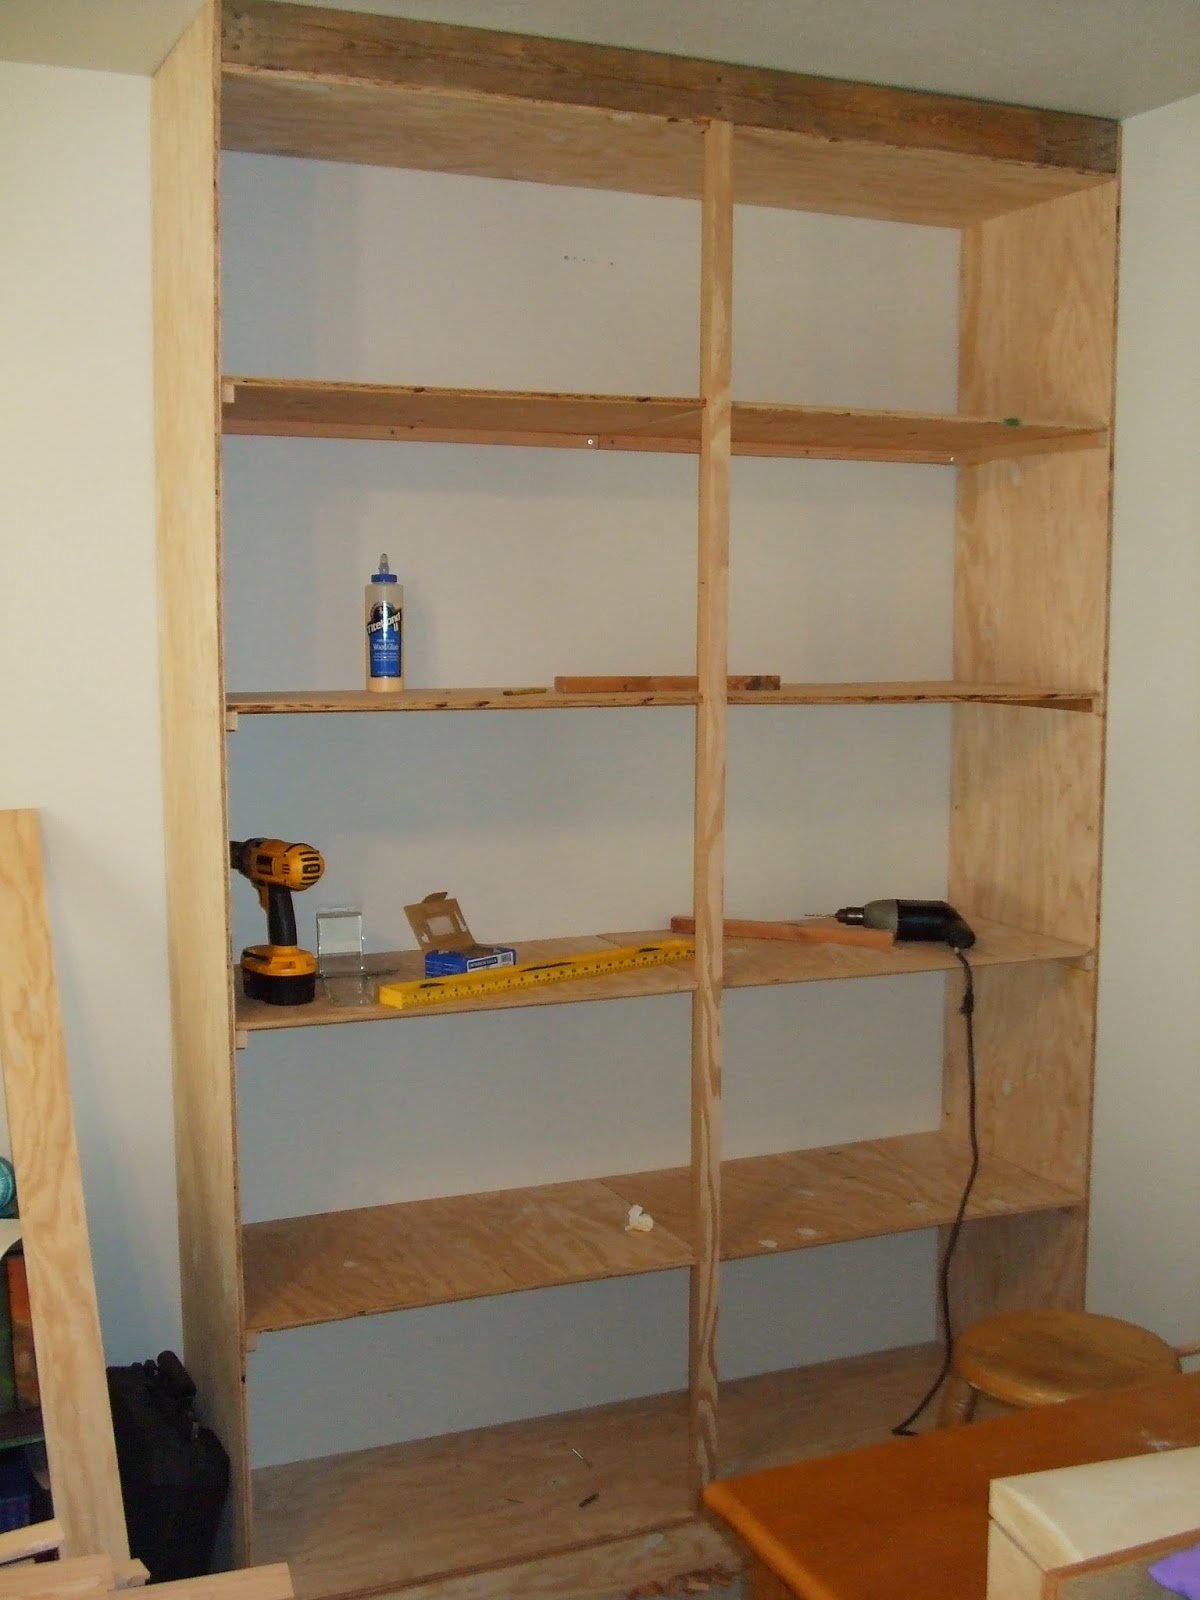
So, I asked my sweet hubby to build me a floor to ceiling shelf and he agreed!!! He bought some materials including a large sheet of plywood, and some long boards.
After designing and measuring, he made all of the cuts.
He started with a frame screwed into the studs.This would be an anchor for the rest of the pieces.
He put up the side pieces.
And added a center brace.
Before adding the shelves he screwed long pieces to the studs so they would be able to hold lots of weight in crafts.
Then he added the shelves and their face pieces. First he used glue and then he secured them with wood screws.
Once all of the shelves were in, he got to work on wood filling.
Now that the surface is all smooth, he can paint the whole thing white. This took a few coats. We found that the wood filler was hard to cover with the white paint, so we would recommend a different method of covering. The result was also a lot of wood glue dust during the sanding process.
We weren't quite finished because we still needed to add crown and baseboard molding to match the other trims in the room. We didn't have the fund for this at the time, so we postponed it until later. I went ahead and added my crafts since we wouldn't be finishing the project for a while.
This is the beginning stages of unpacking and organizing. But it's still such an improvement over a clutter covered buffet. You can also see the "Love" decal on a board in the background. Casey cut me a small piece of wood and added eye hooks for the ribbon so that I could display it.
When we did have the funds, we picked up moldings that matched the other details in our house.
It still wasn't quite finished. Casey added a small piece of wood to the gaps at the top and bottom and then painted them to match the rest of the shelf.
This is what the shelves look like today. I am so happy with the result! It is very convenient to sit down to a project and have a whole dining table to work on and all of my supplies right at hand.
I love having such an organized space. I think the shelf will be useful for others in the future as well. If someone weren't a crafter, it would be a great spot for a comfy chair and ALL of their books!


No comments:
Post a Comment